

Saturday 28 February 2009
Friday 27 February 2009

Wednesday 25 February 2009
bahtroy tute
Did a quick sketch and decided to progress it to show you gueezzee. Yeah its a crappy drawing but, who cares? You get the idea right? Ill do a better quality one in the future.

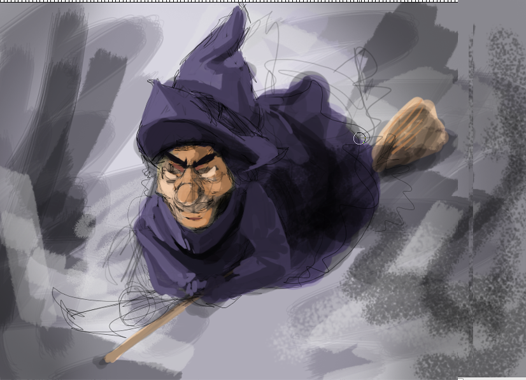
1) First we start with a background, allwase setting up some kind of background helps, beacuse if you start on a plane white background and work on the background later youll get that annoying fade. Just a simple bg, some brushes and what not, go nuts.

2) Than we make a new layer and scribble our doodle on top, dont worry it it looks crap, well eventualy be drawing ontop of it, its just to give us an idea of where shadow will do and basic form, you get the picture. Prep for the next step.

3) Make a layer under the lineart, to add some base, remember that fade thing i mention erlyer? Yeah just another one of those realy, helps if you want to change the background later. It stops painting on top from fading into the background. Usualy better to do this with block shading but do whatever,
4) Still under the lineart layer just throw some colours on, fix up some of that form if you feel like it. Decided to go for a blocky affect.
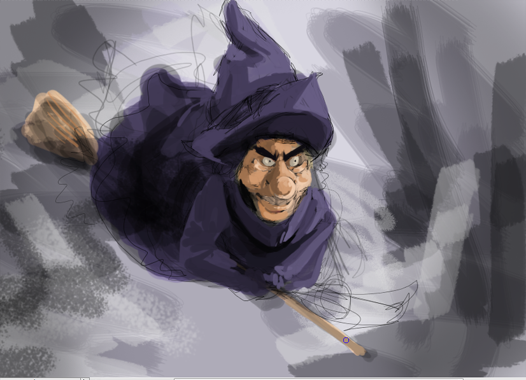
5) Flip the image. This is very important. Not flipping and finalising the image later youll flip it and be like: " WHAT THE FUCK IS UP WITH HER FACE?! ", youre mind will be tricked while drawing you see. If your sitting here thinking " Oh this is someone who needs everything to be semetrical " (someone achualy told me that) or whatever, yeah. Because generaly everything is. If you flip the image it should still look right, if it doesnt, fix it. To sum this stage up: Flip and fix.
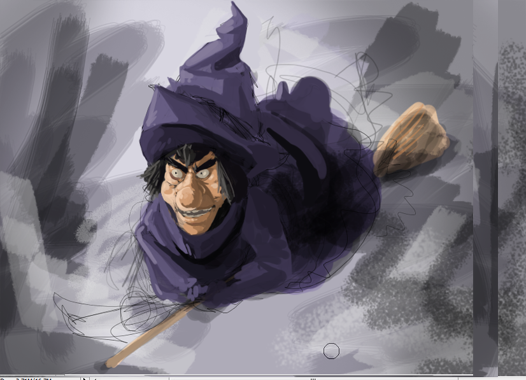
6) Flip back to the way you want and fix up some more. Also This is the stage where we start working above the " Line art " layer. Fix it up real nice, yo~ Working right above the lineart will allmost make it useless, although you can keep the lineart if you like. Doesnt matter much, but if you work over and over it evenualy you wont be able to see the lines, so theyre becoming less important the more you work on your image.
7) Remove your lineart layer. And work more on the whole fixing deal, add some details, flip it again, fix up some more bits. Detail here and there.
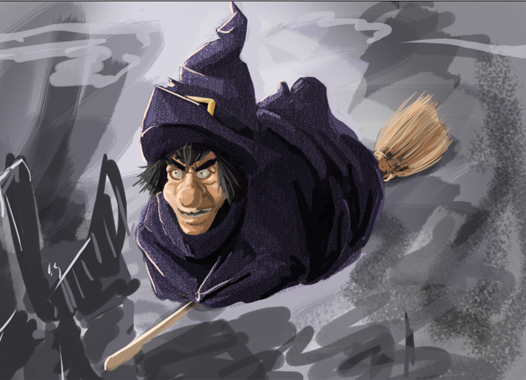

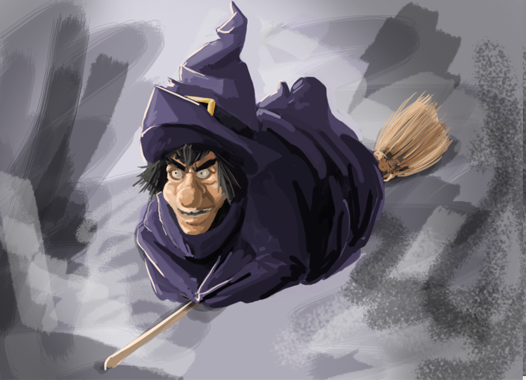
The Final image Than finaly paint ontop of the textured layer, as not doing so can make your image look realy tackey. Even though this looks tackey, being a quick doodle i dont care. ;D Personaly i liked it before i added the texture. Well there you have it, i may do a better one sometime if i feel like it. With a better doodle :l This one was kinda crap

Monday 23 February 2009

Friday 20 February 2009

Wednesday 18 February 2009


Wednesday 11 February 2009

Sunday 8 February 2009

Thursday 5 February 2009


Monday 2 February 2009


Sunday 1 February 2009


Subscribe to:
Posts (Atom)